
7 Steps to On Site Commercial Truck Diagnostics
Cory Smith · · 10 min read
Last Updated: November 17, 2026
Quick Summary
On site commercial truck diagnostics means testing a heavy-duty truck's electronic and mechanical systems at the truck's location instead of towing it to a shop. A technician arrives with a laptop-based scan tool and test equipment, then works from symptom to verified repair. We read active and stored codes with OEM-level software, test the system the code points to, and verify the fix before the truck rolls.
- Drivers should note what the truck was doing when the warning appeared, plus mileage or engine hours.
- Read codes first, record them second, and clear them only after the repair is verified.
- Generic OBD readers cannot run manufacturer tests or access proprietary modules; OEM-level software can.
- Check battery voltage early, since low voltage is a common cause of false codes.
- A repair is not finished until live data and a road test confirm the fault does not return.
Table of Contents
- What On Site Commercial Truck Diagnostics Actually Involve
- Step 1: Capture the Symptoms and Give Dispatch What It Needs
- Step 2: Set Up the Heavy Duty Truck Diagnostic Scanner and Read Codes
- Step 3: Commercial Truck Fault Code Diagnosis Means Testing, Not Guessing
- Step 4: Mobile Diesel Diagnostics Under Field Conditions
- Step 5: Verify the Repair Before the Truck Rolls
- Step 6: Document the Unit for the Next Visit
- Step 7: Decide What Happens Next
- Frequently Asked Questions
What On Site Commercial Truck Diagnostics Actually Involve
On site commercial truck diagnostics is the practice of testing a heavy-duty truck's electronic and mechanical systems at the truck's location instead of towing it to a shop. A technician arrives with a laptop-based scan tool and test equipment, then works through the fault from symptom to verified repair.
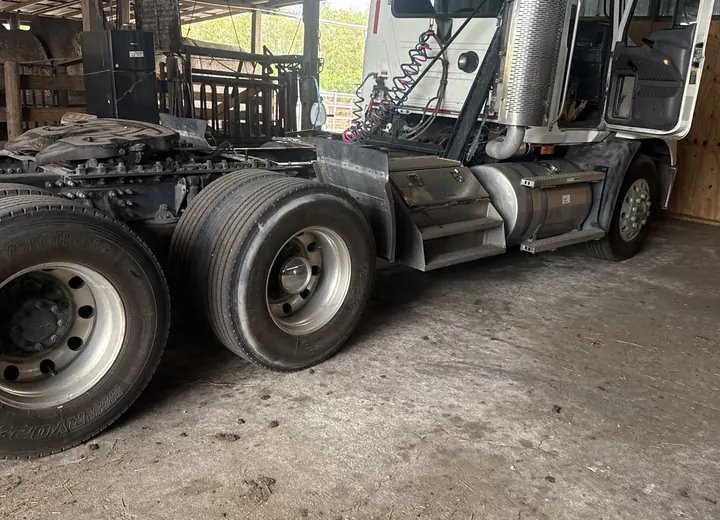
At Smith Truck Repair, we run this process across Haines City and Central Florida on Cummins X15, Detroit DD15, PACCAR MX-13, and Volvo D13 engines, plus automated transmissions like the Detroit DT12, Volvo I-Shift, and Eaton Endurant.
Below are the seven steps we follow, from the first phone call to the final road test.
| Step | What Happens | Who Acts |
|---|---|---|
| 1 | Symptoms and details captured | Driver, dispatcher |
| 2 | Codes read with OEM software | Technician |
| 3 | System tested, not guessed | Technician |
| 4 | Field conditions managed | Technician |
| 5 | Repair verified before release | Technician, driver |
Step 1: Capture the Symptoms and Give Dispatch What It Needs
A fault code tells us where to start testing, not which part to replace. The same warning can come from a failed component, damaged wiring, a poor ground, or a problem somewhere else in the circuit.
Drivers should note what the truck was doing when the warning appeared: pulling a grade, idling, regening, or sitting overnight. Record the mileage or engine hours and whether the symptom repeats.
Dispatchers should collect the exact location, VIN or unit number, dash warnings, and a photo of the dash if possible. Our dispatch information guide shows exactly what to send so the technician arrives prepared.
Step 2: Set Up the Heavy Duty Truck Diagnostic Scanner and Read Codes
The technician connects a scan tool through the diagnostic port and pulls both active and stored codes before touching a wrench.
Not all scanners are equal, and the difference decides how far a diagnosis can go:
-
Generic OBD readers pull emissions-related codes and basic live data. They cannot run manufacturer tests or access proprietary modules.
-
OEM-level software runs the manufacturer's own test plans, bidirectional controls, and calibration data. This is what lets us command a component, watch the response, and compare it to the spec.
We match the tool to the truck.
Once connected, the technician sorts codes into three buckets:
- Active, the fault is present right now and can be tested live.
- Inactive, the fault set earlier but is not current; it may be intermittent or already addressed.
- Historical, stored for reference and often tied to a past event, a low-voltage spike, or a repair that was never cleared.
Where the platform supports it, freeze-frame data, the snapshot of engine speed, load, temperature, and voltage captured when the code set, can narrow the cause.
We ask two questions before quoting anything: when does the fault occur, and what do the active and stored codes say together? A code that sets only under load tells a different story than one that sets at idle. Reading codes and clearing them without testing is how parts get replaced for no reason.
Clearing codes before the freeze-frame and stored data are recorded erases the evidence the next technician needs.
If you want to see what OEM-level diagnostics cover, our electrical and OEM diagnostics service walks through the systems we test.
Step 3: Commercial Truck Fault Code Diagnosis Means Testing, Not Guessing
A shop that treats the code as proof of a failed part may sell you a component you do not need. A technician tests the system the code points to, using live data, before recommending any repair.
Low fuel rail pressure is a good example. It can come from a restricted filter, air in the fuel supply, or a pressure-control issue. Each cause needs a different fix, so the code alone is not enough. Aftertreatment and derate codes get the same treatment. Our aftertreatment and derate diagnostics page covers how we work through DPF, SCR, DEF, and NOx sensor faults without throwing parts at the problem.
Step 4: Mobile Diesel Diagnostics Under Field Conditions
Mobile diesel diagnostics happen in a gravel yard, on a shoulder, or beside a dock, not in a shop bay. That changes the job.
On-site work is not a shop bench on wheels. Here is what has to be managed before a scan tool is worth anything:
- Power. A laptop and scan interface need a stable supply. The technician checks the truck's battery voltage early, low voltage is a common cause of false codes and module communication faults, and it can make a good module look bad.
- Connectivity. Some OEM software and calibration lookups need a data connection. In a yard with weak signal, the technician plans which steps require the network and which can run offline.
- Lighting and weather. Rain, glare, and darkness affect both the technician and the electronics, so the laptop is kept out of standing water and off hot surfaces.
- Roadside safety. On a shoulder, traffic is the first hazard. Cones, high-visibility gear, and a safe working position come before any test, and if the location cannot be made safe, the truck moves or the work waits.
These constraints shape the diagnosis. A fault that only appears under load may need a road test with live data, which means the technician confirms the truck is safe to move first.
Not every part is carried for every truck. If the truck is stranded, our 24/7 roadside assistance brings the diagnostic work to the vehicle.
A technician who starts swapping parts before confirming stable battery voltage and clean grounds may be diagnosing the power supply rather than the fault.
Step 5: Verify the Repair Before the Truck Rolls
A repair is not finished when the part is installed. The technician clears codes only after the fix, then runs the truck under the conditions that set the original fault. Live data should confirm the system is back in range. A road test or a loaded test confirms the fault does not return.
Ask for written findings tied to the unit number. A useful report states what was tested, what the technician found, and what repair or follow-up is needed. That record matters for repeat failures and for warranty or insurance claims. Our article on whether OEM-certified diesel mechanics are worth it explains what to check before you hire.
Step 6: Document the Unit for the Next Visit
Every diagnosis should leave a paper trail the fleet can use later. We tie findings to the unit number so a repeat code six weeks down the road has history behind it.
Fleet managers should track repeat issues by unit, not by driver complaint. A truck that keeps setting the same code after a repair is telling you something the first fix missed. Record the mileage or engine hours at each symptom, and follow the manufacturer's maintenance schedule for the truck's duty cycle. On-site fleet maintenance scheduled during planned downtime can help keep small problems from becoming roadside calls.
Step 7: Decide What Happens Next
Not every fault ends with a repair on the spot. Some need a part ordered, some need a dealer-level tool, and some are safe to monitor with a scheduled follow-up. The technician should tell you plainly which one you are facing.
- Fix now: the cause is confirmed and the part is on the truck.
- Schedule it: the fault is understood but the repair fits planned downtime better.
- Escalate: the system needs equipment or a procedure beyond field conditions.
That honesty is the point of testing before quoting. You should never pay for a part because a code said so.
When a truck is down, the fastest path back to work is a diagnosis you can trust.
Frequently Asked Questions
Can a technician diagnose a commercial truck without taking it to a shop?
Yes, in most cases. A mobile technician brings a laptop and test equipment to the truck. Commercial truck diagnostics on site cover code reading, live data review, and testing of the affected system, whether that is fuel pressure on a Cummins X15 or a circuit fault on a Detroit DD15. Some repairs still need a shop, and a technician should tell you which ones after testing. Smith Truck Repair performs mobile diesel diagnostics across Haines City and Central Florida.
Can a truck fault code tell you which part to replace?
No. A fault code tells the technician where to start testing, not which part has failed. The same warning can come from a failed component, damaged wiring, a poor ground, or a problem elsewhere on the truck. Low fuel rail pressure, for example, can come from a restricted filter, air in the fuel supply, or a pressure-control issue, and each needs a different repair. Testing and live data come before any parts are quoted.
What information should I give dispatch when a truck has a warning light?
Have the exact location, VIN or unit number, the dash warnings showing, and what the truck was doing when the problem appeared. Note the mileage or engine hours and whether the issue happens cold, hot, under load, or at idle. Mention any recent repairs and whether fluid levels are dropping. That information helps the technician bring the right tools and plan the heavy duty truck diagnostic scanner tests before arriving.
When should a driver stop operating a truck and request diagnostic help?
Stop safely and call for help for brake, steering, overheating, or low oil pressure concerns. Do not attempt roadside repairs or keep driving on those warnings. For other faults, such as an aftertreatment or check-engine light, note the symptoms and call so the technician can advise whether the truck can be moved. Getting the unit number and location to dispatch first speeds up the response.
